
This homemade hummus recipe blends canned chickpeas, tahini, garlic, lemon juice, olive oil, and seasoning into a smooth, creamy dip. Make it in 30 minutes or less in a food processor, and it's the perfect healthy snack or appetizer!
I've always been a big fan of hummus, but have struggled to find a store-bought version that I love. I decided to experiment with my own recipe and am so glad that I did. Hummus is much easier to make than I thought!

Ingredient Notes
- Canned Chickpeas: Canned is faster and easier than soaking and cooking your own chickpeas, but what you use is entirely up to you. I find that removing the skins of the canned chickpeas makes the hummus plenty creamy, so the added step of cooking chickpeas is not necessary for this recipe.
- Lemon Juice: Lemon adds a fresh, acidic taste to the hummus that balances out the other flavors. Make sure to use freshly squeezed lemon juice for the best flavor.
- Tahini: Tahini gives the hummus a richer and nuttier flavor, while also contributing to its creamy texture. Tahini can be overpowering, so I use less than other recipes might use.
- Garlic: Feel free to add more if you like a strong garlicky flavor. Fresh garlic is preferred, but minced garlic works here as well.
- Olive Oil: Use a high-quality extra virgin olive oil for the best flavor.
- Cumin: Just a little bit of cumin adds a lot of earthy, warm flavor to hummus that you won't want to miss out on.
- Fine Sea Salt: I prefer the flavor of sea salt over iodized salt, but use whatever you have on hand. However, you may need slightly less if using iodized salt.
- Ice-Cold Water: Very cold water will give the hummus a fluffier, creamier texture by emulsifying the other ingredients and lightening the hummus without thinning it out.
- Paprika: Paprika is optional, but it pairs nicely when serving the hummus.
How to Make Homemade Hummus
The first step is removing the skins from the chickpeas. Though this step is optional, I highly recommend it to get a light and creamy texture. However, if you're short on time, skip this step and just blend the hummus in the food processor for a few extra minutes.
To remove the chickpea skins, drain and rinse the chickpeas and add them to a large bowl and then fill the bowl with warm water. Rub the chickpeas between your fingers to remove the skins and leave both the chickpeas and skins in the water as you go. You don't need to remove every skin--if a few get missed that's fine.
Use a strainer to fish out the chickpea skins. Once they're removed, pour out the water so that only the chickpeas are left.

Next, add the lemon juice, tahini, garlic, olive oil, cumin, and salt to the food processor and blend for two minutes, scraping down the sides halfway through.
Then add the chickpeas and four tablespoons of freezing cold water, and mix for two minutes. At this point, add another tablespoon or two of cold water, if needed, to get the desired consistency. Taste test the flavor as well to determine if you'd like to add more of any other ingredient. (Some might prefer a stronger garlic, salt, tahini, or lemon flavor.)
Mix for 2-3 more minutes. If you did not peel off the chickpea skins, keep the food processor going for a couple extra minutes.
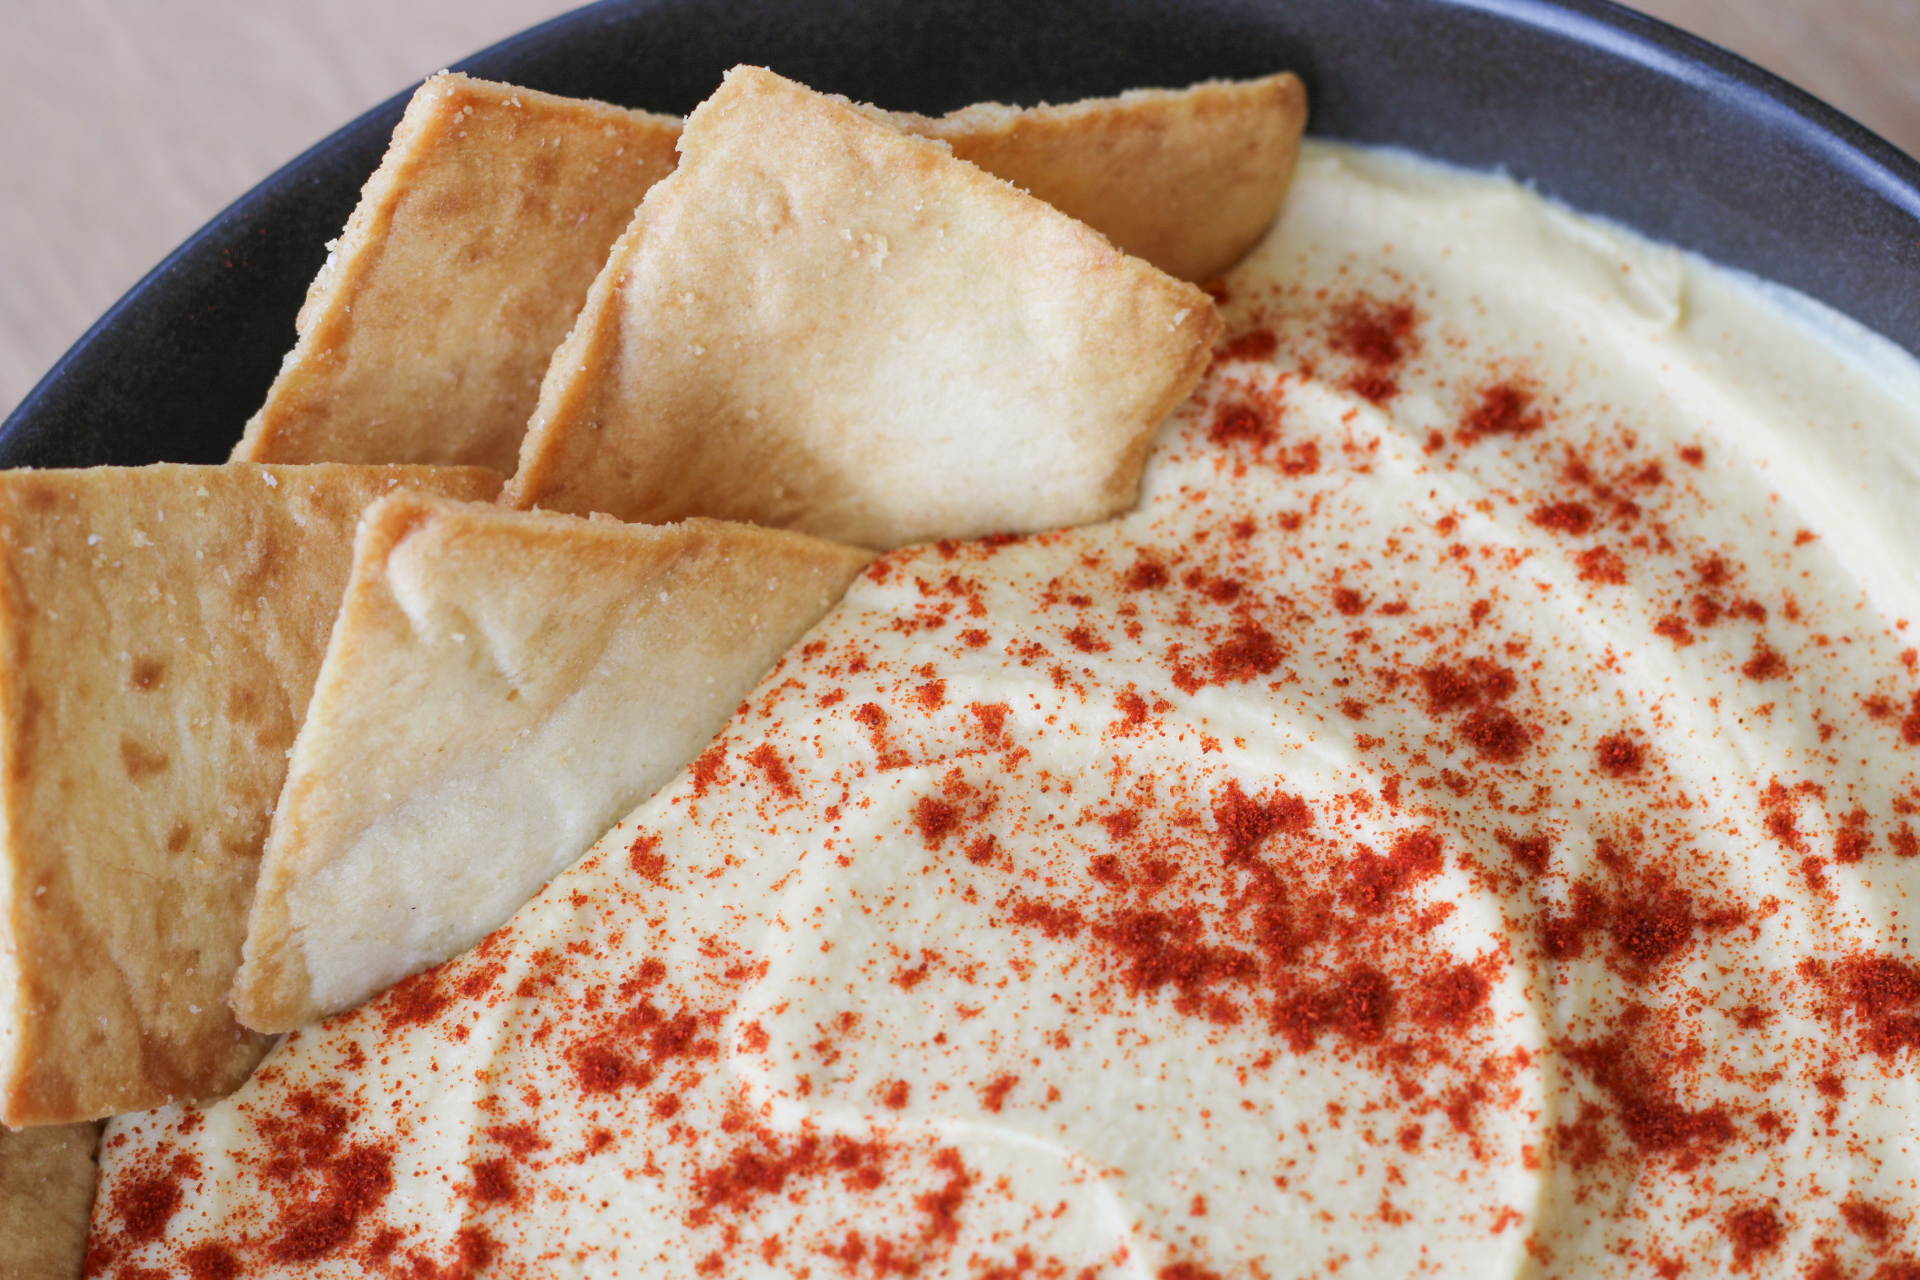
Refrigerate for a few hours before serving if you'd like it to be cold. Sprinkle some paprika on top if you'd like. Enjoy!

Frequently Asked Questions
Store it in an airtight container in the refrigerator and it should last about 3-5 days.
You don't have to, though I highly recommend it! This gives the hummus a creamier texture and is worth the few extra minutes. If you're in a rush, skip this step and let it blend for a few more minutes in the food processor.
Yes, you can skip the tahini and use extra olive oil instead. However, the flavor and texture won't be the same. I personally am not a fan of lots of tahini, but I find that this recipe has the perfect balance of adding flavor and creaminess without being overwhelming.
A food processor will always be my preference, but if you don't have one, a high-powered blender will work well too.
What to Serve with Homemade Hummus
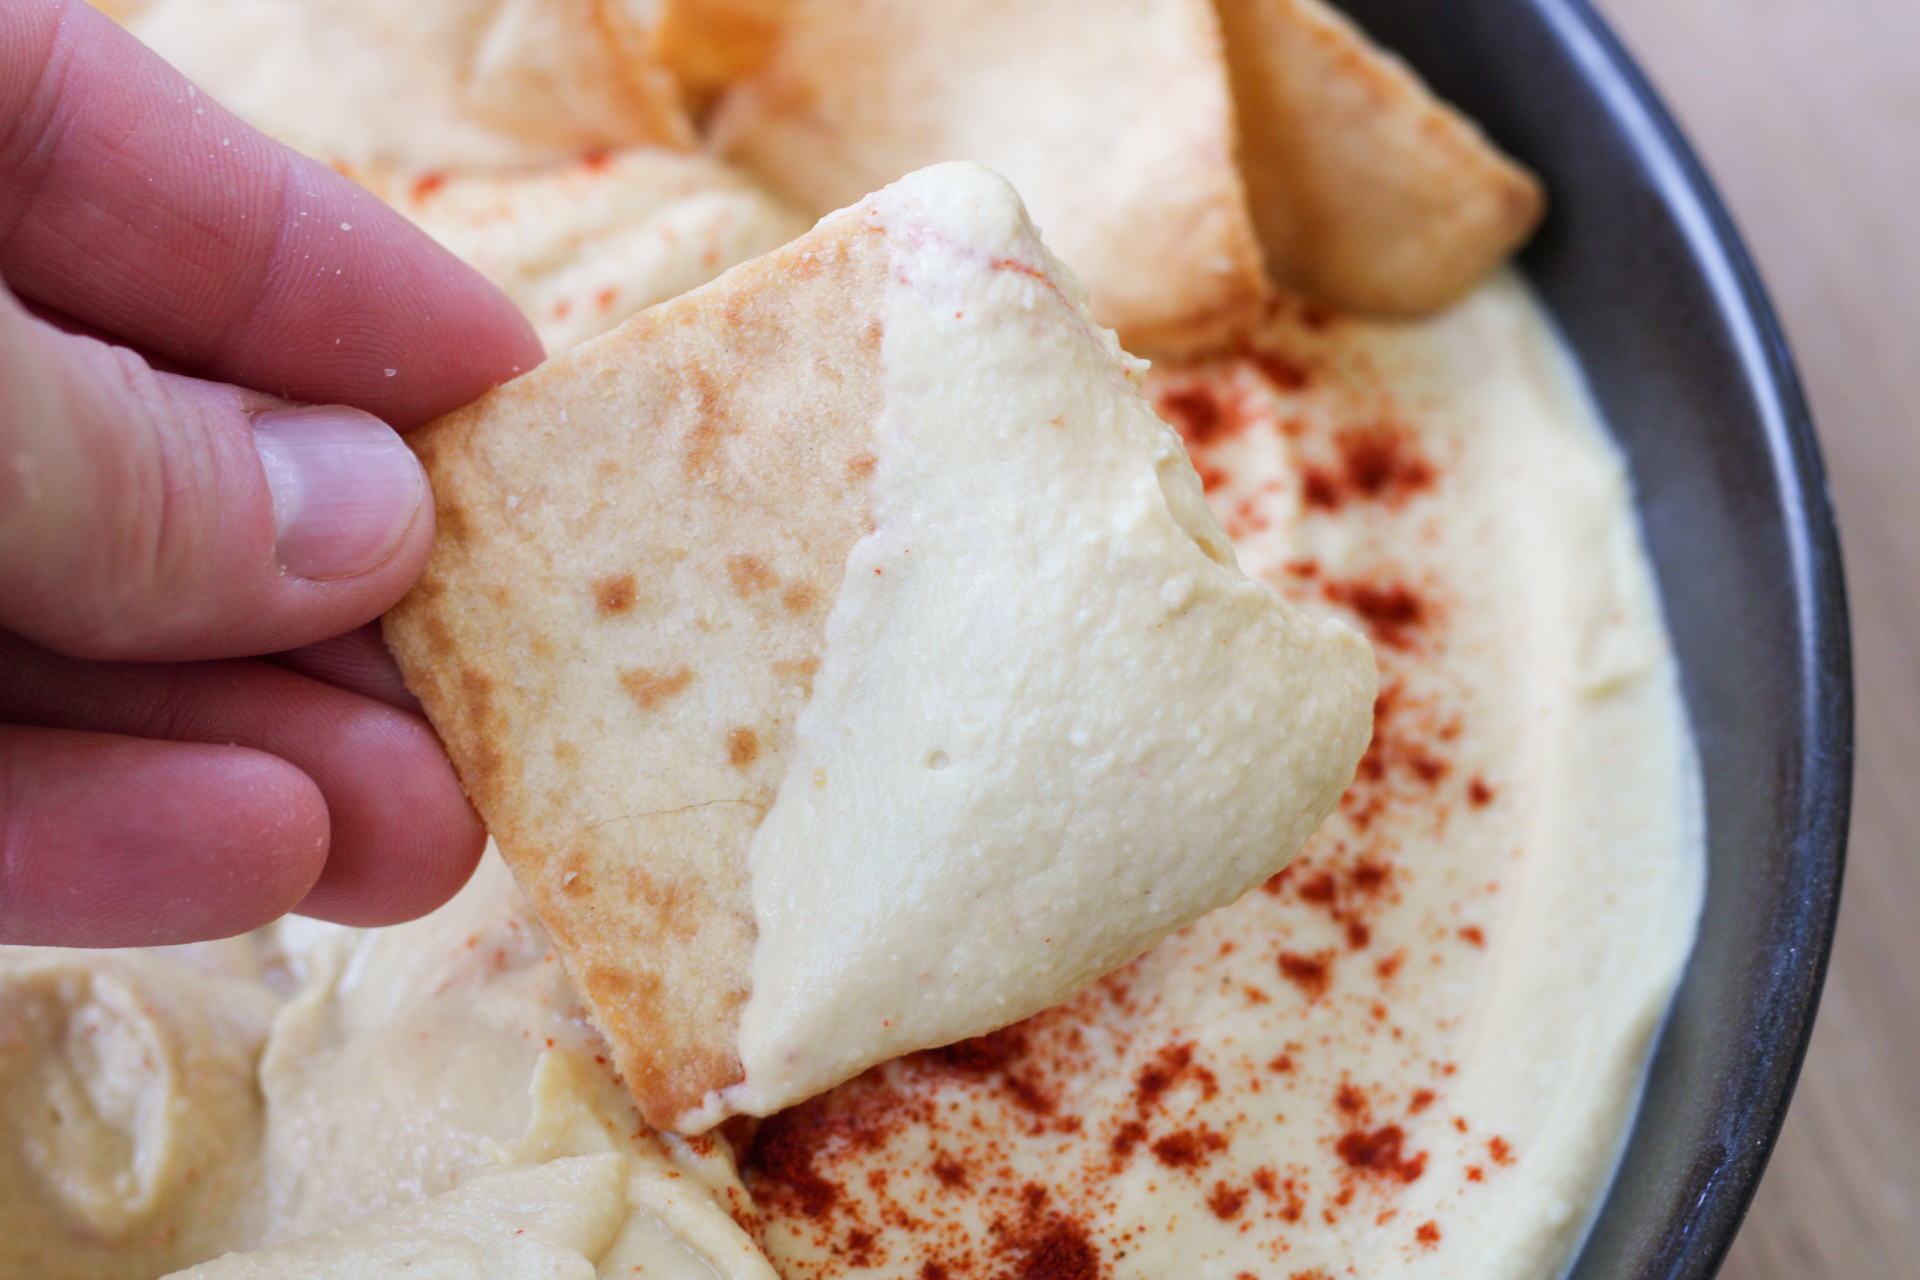
This hummus tastes great as a dip for pita chips or vegetables, and would also be perfect as a sandwich spread or served on pita bread.
I love making mediterranean-inspired recipes, and many of them would pair perfectly with this homemade hummus. Here are a few that are worth checking out:
Vegetarian Mediterranean Bowls with Falafel
If you try out this homemade hummus recipe or any of my other recipes, I'd LOVE to hear about it. You can leave a comment below the recipe, or if you post a picture on Instagram, be sure to tag me! Getting any feedback on my recipes is both rewarding AND helpful as I write and edit recipes in the future.
Now get cooking, and enjoy!

Homemade Hummus
Print Pin RateIngredients
- 28 oz canned chickpeas (2 14 oz cans)*
- 3 tablespoon fresh lemon juice
- 3 tablespoon tahini
- 1 large garlic clove (or 2 teaspoon minced garlic)**
- 3 tablespoon olive oil
- ¼ teaspoon ground cumin
- ¾ teaspoon fine sea salt
- 4-6 tablespoon ice cold water
- paprika for serving optional
Instructions
- ***Drain and rinse the chickpeas and add them to a large bowl. Fill the bowl with warm water.Gently rub the chickpeas between your fingers to remove the skins and leave both the chickpeas and skins in the water as you go. You don't need to remove every skin--if a few get missed that's fine. Use a strainer to fish out the chickpea skins. Once they're removed, pour out the water so that only the chickpeas are left.28 oz canned chickpeas (2 14 oz cans)*

- Add the lemon juice, tahini, garlic, olive oil, cumin, and salt to the food processor and blend for two minutes, scraping down the sides halfway through.3 Tbsp fresh lemon juice, 3 Tbsp tahini, 1 large garlic clove (or 2 teaspoon minced garlic)**, 3 Tbsp olive oil, ¼ tsp ground cumin, ¾ tsp fine sea salt
- Add the chickpeas and 4 tablespoons of water, then mix for two minutes. At this point, add another tablespoon or two of water, if needed, to get the desired consistency.Taste test the flavor as well to determine if you'd like to add more of any other ingredient.4-6 Tbsp ice cold water
- Mix for 2-3 more minutes.If you did not peel off the chickpea skins, mix for a couple extra minutes.
- Refrigerate for a few hours before serving (optional). Serve with paprika (optional).Enjoy!paprika for serving


Notes
Equipment
- 1 large bowl
- strainer
- measuring spoons
- food processor


Anonymous says
Loved this hummus! It was super creamy, and the tips on how to take off the chickpea skins made it much faster.
All You Can Eats says
so glad you enjoyed it! 🙂